
Unfortunately, this has nothing to do with me telling you about piles of money. It’s about the ‘Sweet Million’ Cherry Tomato and my first ever attempt at growing absolutely anything! Truth be told I can’t even grow what I would consider an impressive beard and that takes almost no effort. So, suffice it to say, I was a little nervous when I decided to take on the challenge of growing Cherry Tomatoes with my 6 year old daughter. But I figured, even if it failed and nothing grew it would be a great lesson either way and we could try again. It would be an opportunity to demonstrate perseverance.
The overall act of growing tomatoes seemed, in my mind, pretty straightforward; get some pots, get some soil, get some seeds, provide water, sun and support then wait. But I had so many questions; what seeds do I buy? when do I start to grow them? what pot size do I need? how many pot sizes do I need? how deep do bury the seeds? how often do I water? how do I know if it’s healthy? The list of questions started to become overwhelming. So, I figured the best thing to do is find out where to start. So I googled; “how to grow cherry tomatoes from seeds”. I got plenty of results as you can imagine. Most were pretty helpful. There were a lot of suggestions to start from an established plant and buy from a nursery but I really wanted to start from seeds. I thought it would be really neat for my daughter to see something sprout from the earth and blossom to a beautiful, fruit bearing plant so I decided to go with what a few people suggested; a seed starting kit. This way, as suggested, we could start them indoors and see the activity.
Our next order of business was to buy the seeds. This was a little intimidating. I had no idea there were so many varieties. I was really looking for 2 criteria when evaluating the seeds; high yield and robust. I love cherry tomatoes in salads and I figured a high yield plant would allow us to choose the ‘cream of the crop’ and I figured the more robust (disease resistant, especially) the better our chances were for success. I found the Sweet Million and it fit the bill. A couple days later we had our seeds and our starter kit.
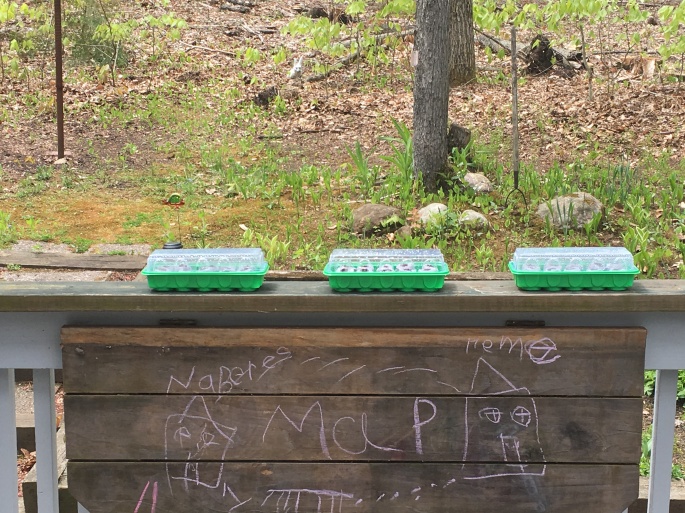
The best thing about the starter kit was it came with starter pods; they’re basically these little discs of soil that plump up when they absorb water. It also had tips on how deep to bury the seeds, how often to water, when to remove the lid, etc… so that was refreshing; I’m not a gardener but I can follow directions. It wasn’t long before my daughter and I witnessed our first taste of success.
As the seedlings appeared to sway more and more reaching out for the sun we moved them from the window sill to the deck during the day and we’d bring them back in at night. This went on for a few weeks until they needed to be repotted. I grabbed some of my wife’s leftover potting soil and upgraded what we thought were the strongest six.
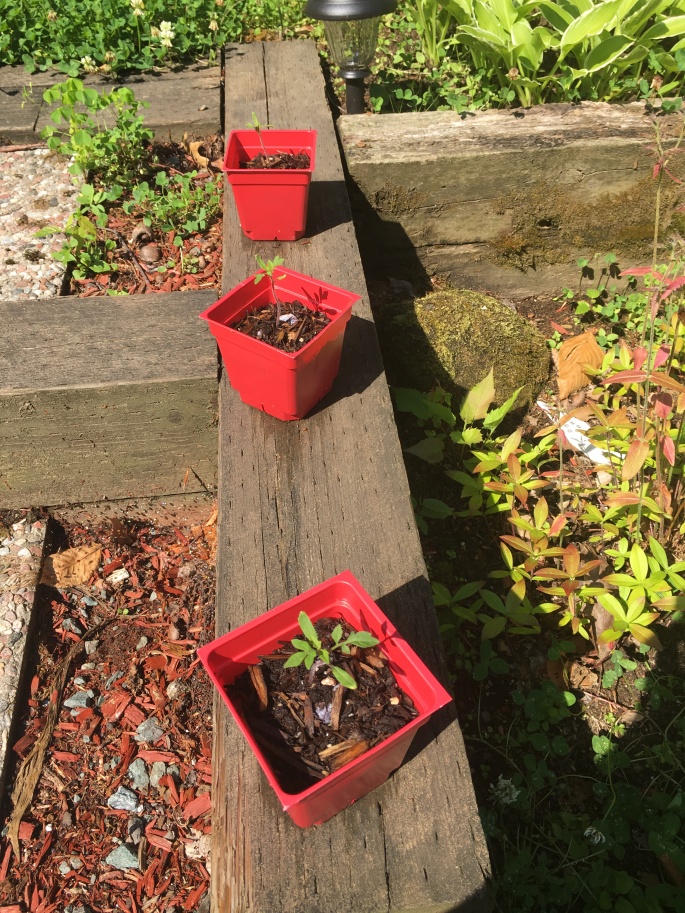
If you look closely at the pic above you can see we planted these while they were still inside the original starter pods which was recommended. The material is porous enough that the roots will grow right through to the surrounding soil as the plants reach for more nutrients and establish a better root system.
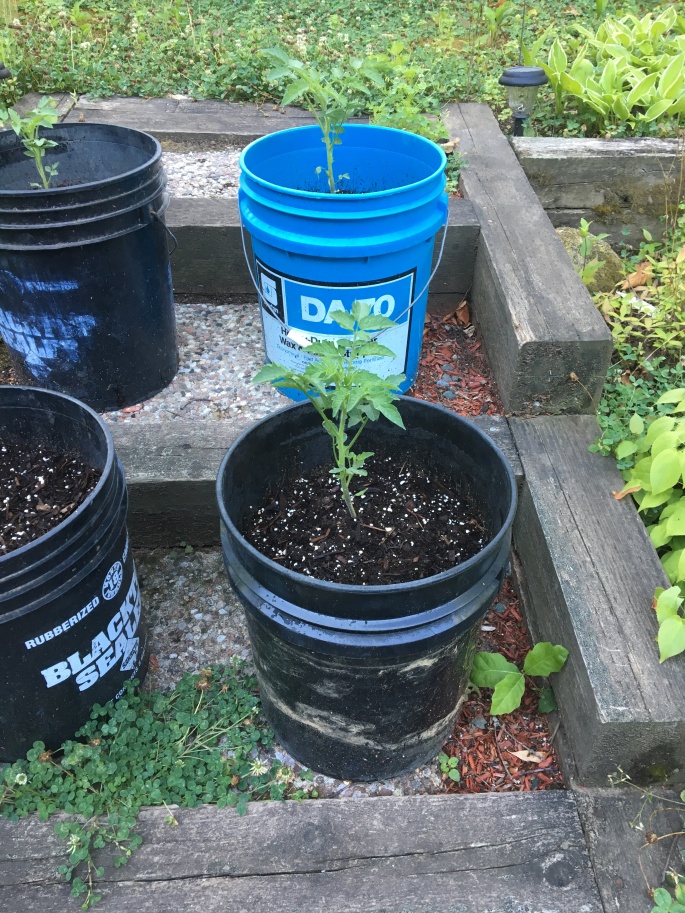
It wasn’t long after this that they appeared to be outgrowing their new home. So, we decided it was time again for another upgrade. But I wasn’t sure where to go from here. I really didn’t want to spend all kinds of money on larger pots and to be honest I wasn’t even sure what kind to get or how big. I had from the beginning this vision of using these old 5 gallon buckets collecting dust in the garage as the final stage containers. I figured they were large enough and with a few holes in the bottom courtesy of an ordinary drill and 1/4″ bit I had my final four containers. Once again, I chose the best of the group, discarded the two weakest and replanted. I had to get some more potting soil now. I found some “general purpose” potting soil similar to this and it was marked down (score!) so I grabbed some extra.

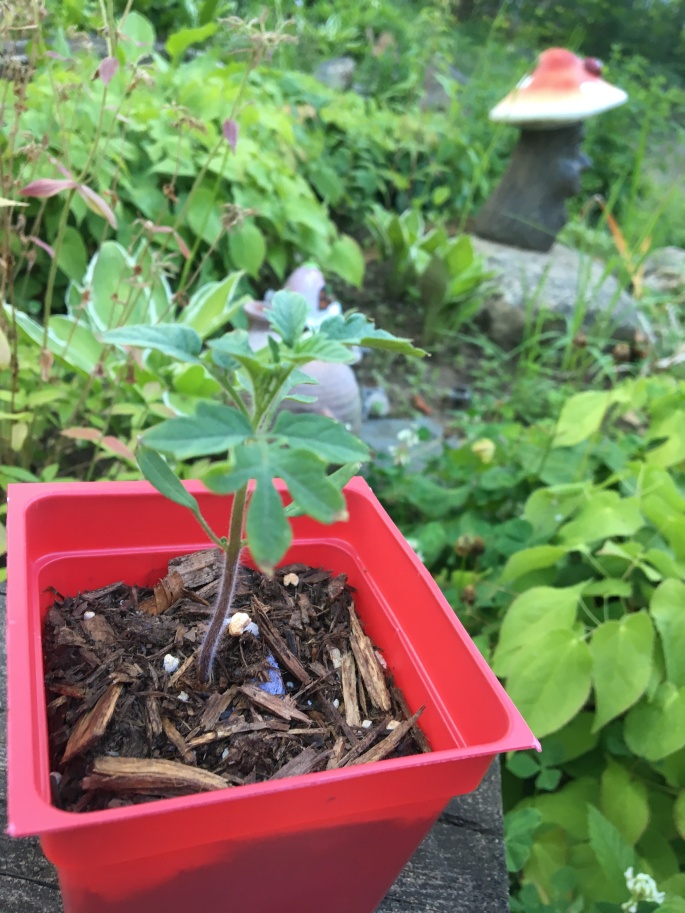
It was after this replanting that they really started taking off. It was like bamboo. Well, not that drastic but they did grow quite quickly. This is where I really started to “read the leaves” so to speak. As you can see from the pic above the leaves toward the ends are a little burnt. This can be due to a number of reasons like over/under watering, too much fertilization or poor nutrition. I didn’t have much control over the fertilizer as it was premixed but I did try to pay attention to the behavior of the plants in relation to the watering. I found (and read) that tomato plants don’t need to be watered daily. What I learned to do was read the soil. If the soil felt dry I’d water and if we were going to have a few straight days of heat, I’d water a bit more. If we were expecting rain I’d skip watering to avoid overdoing it. A lot of the care-taking was reading, planning and experimenting.
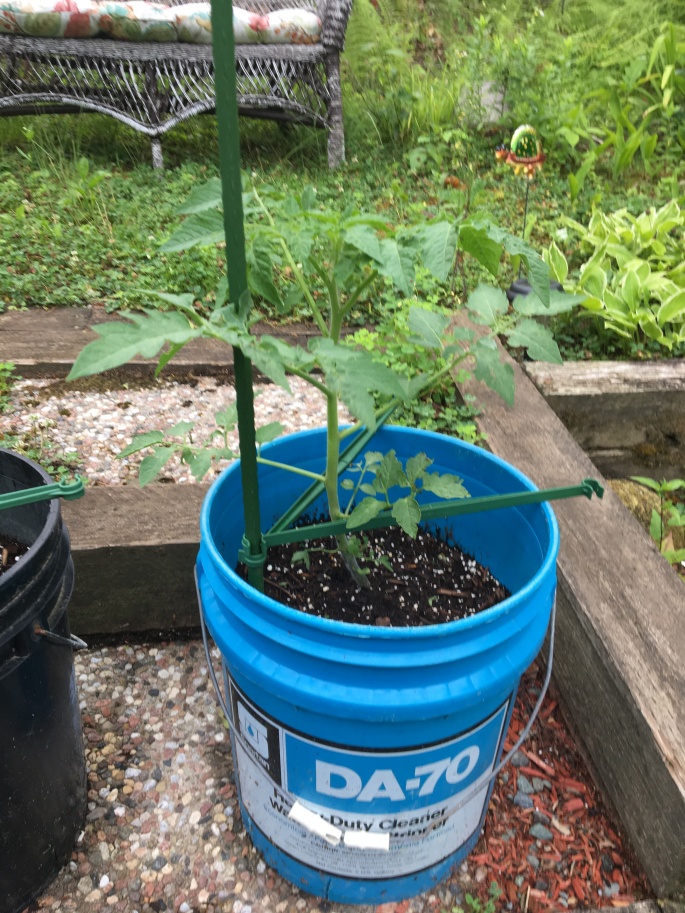
Eventually they grew to the point that they would lean in heavy rains which made me nervous. They appeared as though they would snap so I added some support as you can see in the pic above. These are just plastic tomato trellises similar to these that the previous homeowner left us. They do the job quite well and I love that I was able to reuse these!
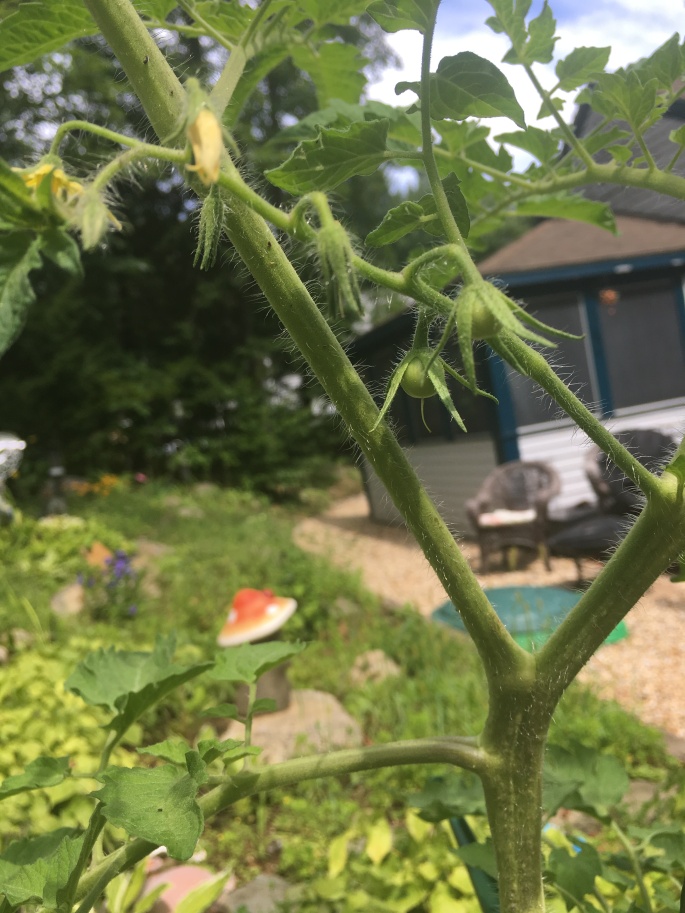
What’s this!?!?! Tomato’s?!!?? We did it!!!!! I know my wife was teasing when she called me a farmer but I’ll take it. In only a few months we went from tiny little seed to the beginnings of an actual piece of fruit. It really felt amazing.
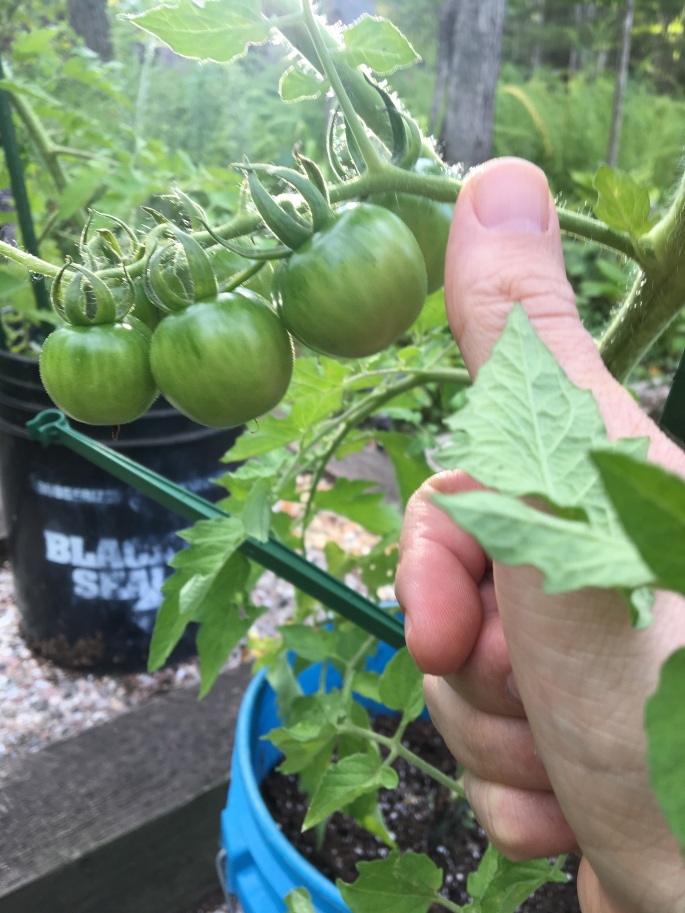
After a few weeks we saw these babies (thumb for scale)! There’s at least 3 dozen between the four plants of different sizes. I can’t wait for them to ripen. I know with four indeterminate plants I’ll have a ton of these things but I plan on making a sauce which I can freeze and, as all good gardeners do, giving away plenty! I’ll make sure to let you know how they taste!
